Getting Started
Getting Started#
This guide aims to get started with Apache APISIX, we will configure the service that will route to a public API, secured by an API key.
Also, we will take the following echo endpoint as an example, it will return parameters we passed.
Request
$ curl --location --request GET "http://httpbin.org/get?foo1=bar1&foo2=bar2"Response
{ "args": { "foo1": "bar1", "foo2": "bar2" }, "headers": { "Accept": "*/*", "Host": "httpbin.org", "User-Agent": "curl/7.29.0", "X-Amzn-Trace-Id": "Root=1-6088fe84-24f39487166cce1f0e41efc9" }, "origin": "58.152.81.42", "url": "http://httpbin.org/get?foo1=bar1&foo2=bar2"}Let's deconstruct the above Request URL.
- Protocol: HTTP
- Port: 80
- Host:
httpbin.org - URI/Path:
/get - Query Parameters: foo1, foo2
Prerequisites#
If you have installed the Apache APISIX, feel free and skip to Step 2 please.
- This guide uses Docker and Docker Compose to setup Apache APISIX.
curl: This guide uses the curl command for API testing, but you can also use any other tools, e.g Postman.
I know you're waiting for this moment for a while, let's go!
Step 1: Install Apache APISIX#
Thanks to Docker, we could launch the Apache APISIX and enable the Admin API by executing the following commands:
$ git clone https://github.com/apache/apisix-docker.git$ cd apisix-docker/example$ docker-compose -p docker-apisix up -dIt will take some time to download all needed files, and this depends on your network, please be patient. Once this step gets done, we could curl our Admin API to tell if the Apache APISIX launchs successfully.
# NOTE: Please curl on the machine which you run above Docker commands.$ curl "http://127.0.0.1:9080/apisix/admin/services/" -H 'X-API-KEY: edd1c9f034335f136f87ad84b625c8f1'We expect the following data to be returned:
{ "count":1, "action":"get", "node":{ "key":"/apisix/services", "nodes":{}, "dir":true }}Step 2: Create a Route#
Congratulations! You have a running Apache APISIX instance now! Let's create a Route next!
Before we continue#
Do you know? Apache APISIX provides the powerful Admin API and a Dashboard for us to use, but we will use Admin API here in this guide. Let's go!
We could create one Route and target it to our backend services (We call them Upstream usually), when one Request reaches Apache APISIX, Apache APISIX will see where this Request should go.
Then how does Apache APISIX know this? That's because we have a list of rules configured with Route. Here is a sample Route data:
{ "methods": ["GET"], "host": "example.com", "uri": "/services/users/*", "upstream": { "type": "roundrobin", "nodes": { "httpbin.org:80": 1 } }}This Route means all inbound requests will be forwarded to the httpbin.org:80 Upstream when they meets ALL these rules(matched requests):
- Request's HTTP method is
GET; - Request has
HostHeader, and its value isexample.com; - Request's path matches
/services/users/*,*means all subpaths, like/services/users/getAll?limit=10.
After this Route is created, we could use Apache APISIX's address to access our backend services(Upstream actually):
$ curl -i -X GET "http://{APISIX_BASE_URL}/services/users/getAll?limit=10" -H "Host: example.com"This will be forward to http://httpbin.org:80/services/users/getAll?limit=10 by Apache APISIX.
Create an Upstream#
After reading the above section, we know we have to set the Upstream for Route. Just executing the following command to create one:
$ curl "http://127.0.0.1:9080/apisix/admin/upstreams/1" -H "X-API-KEY: edd1c9f034335f136f87ad84b625c8f1" -X PUT -d '{ "type": "roundrobin", "nodes": { "httpbin.org:80": 1 }}'We use roundrobin as our load balancer mechanism, and set httpbin.org:80 as our Upstream target(backend server), and its ID is 1. For more fields, please refer to Admin API.
NOTE: Create an Upstream is not required actually, because we could use Plugin to interceptor requests then response directly, but let's assume we need to set at least one Upstream in this guide.
Bind Route with Upstream#
We just created an Upstream(Reference to our backend services), let's bind one Route with it!
$ curl "http://127.0.0.1:9080/apisix/admin/routes/1" -H "X-API-KEY: edd1c9f034335f136f87ad84b625c8f1" -X PUT -d '{ "uri": "/get", "host": "httpbin.org", "upstream_id": "1"}'That's it!
Verification#
Congratulations once more! We have created one Route and Upstream, also we bind them together. Now let's call Apache APISIX to test the created route.
$ curl -i -X GET "http://127.0.0.1:9080/get?foo1=bar1&foo2=bar2" -H "Host: httpbin.org"Wow! It will return data from our Upstream(httpbin.org actually), it works as expected!
Advanced#
Authentication#
Let's do some interesting things, due to anyone could access our public Route created in the Step2, we would like only John could access it. Let's use Consumer and Plugin to implement this protection.
First, let's create the consumer John with key-auth plugin, we need to provide a specified secret key:
$ curl "http://127.0.0.1:9080/apisix/admin/consumers" -H "X-API-KEY: edd1c9f034335f136f87ad84b625c8f1" -X PUT -d '{ "username": "john", "plugins": { "key-auth": { "key": "key-of-john" } }}'Next, let's bind our Consumer(John) to that Route, we only need to Enable the key-auth plugin for that Route:
$ curl "http://127.0.0.1:9080/apisix/admin/routes/1" -H "X-API-KEY: edd1c9f034335f136f87ad84b625c8f1" -X PUT -d '{ "uri": "/get", "host": "httpbin.org", "plugins": { "key-auth": {} }, "upstream_id": "1"}'Ok, when we access the Route created in Step2 from now on, an Unauthorized Error will occur. Let's see how to access that Route:
$ curl -i -X GET "http://127.0.0.1:9080/get" -H "Host: httpbin.org" -H "apikey: key-of-john"Ya, just added an Header called apikey with correct key! It's so easy to protect any Routes, right?
Prefix in Route#
Now lets say you want to add a prefix (eg: samplePrefix) to the route and do not want to use the host header then you can use
the proxy-rewrite plugin to do it.
$ curl "http://127.0.0.1:9080/apisix/admin/routes/1" -H "X-API-KEY: edd1c9f034335f136f87ad84b625c8f1" -X PUT -d '{ "uri": "/samplePrefix/get", "plugins": { "proxy-rewrite": { "regex_uri": ["^/samplePrefix/get(.*)", "/get$1"] }, "key-auth": {} }, "upstream_id": "1"}'Now you can invoke the route with the following command:
$ curl -i -X GET "http://127.0.0.1:9080/samplePrefix/get?param1=foo¶m2=bar" -H "apikey: key-of-john"APISIX Dashboard#
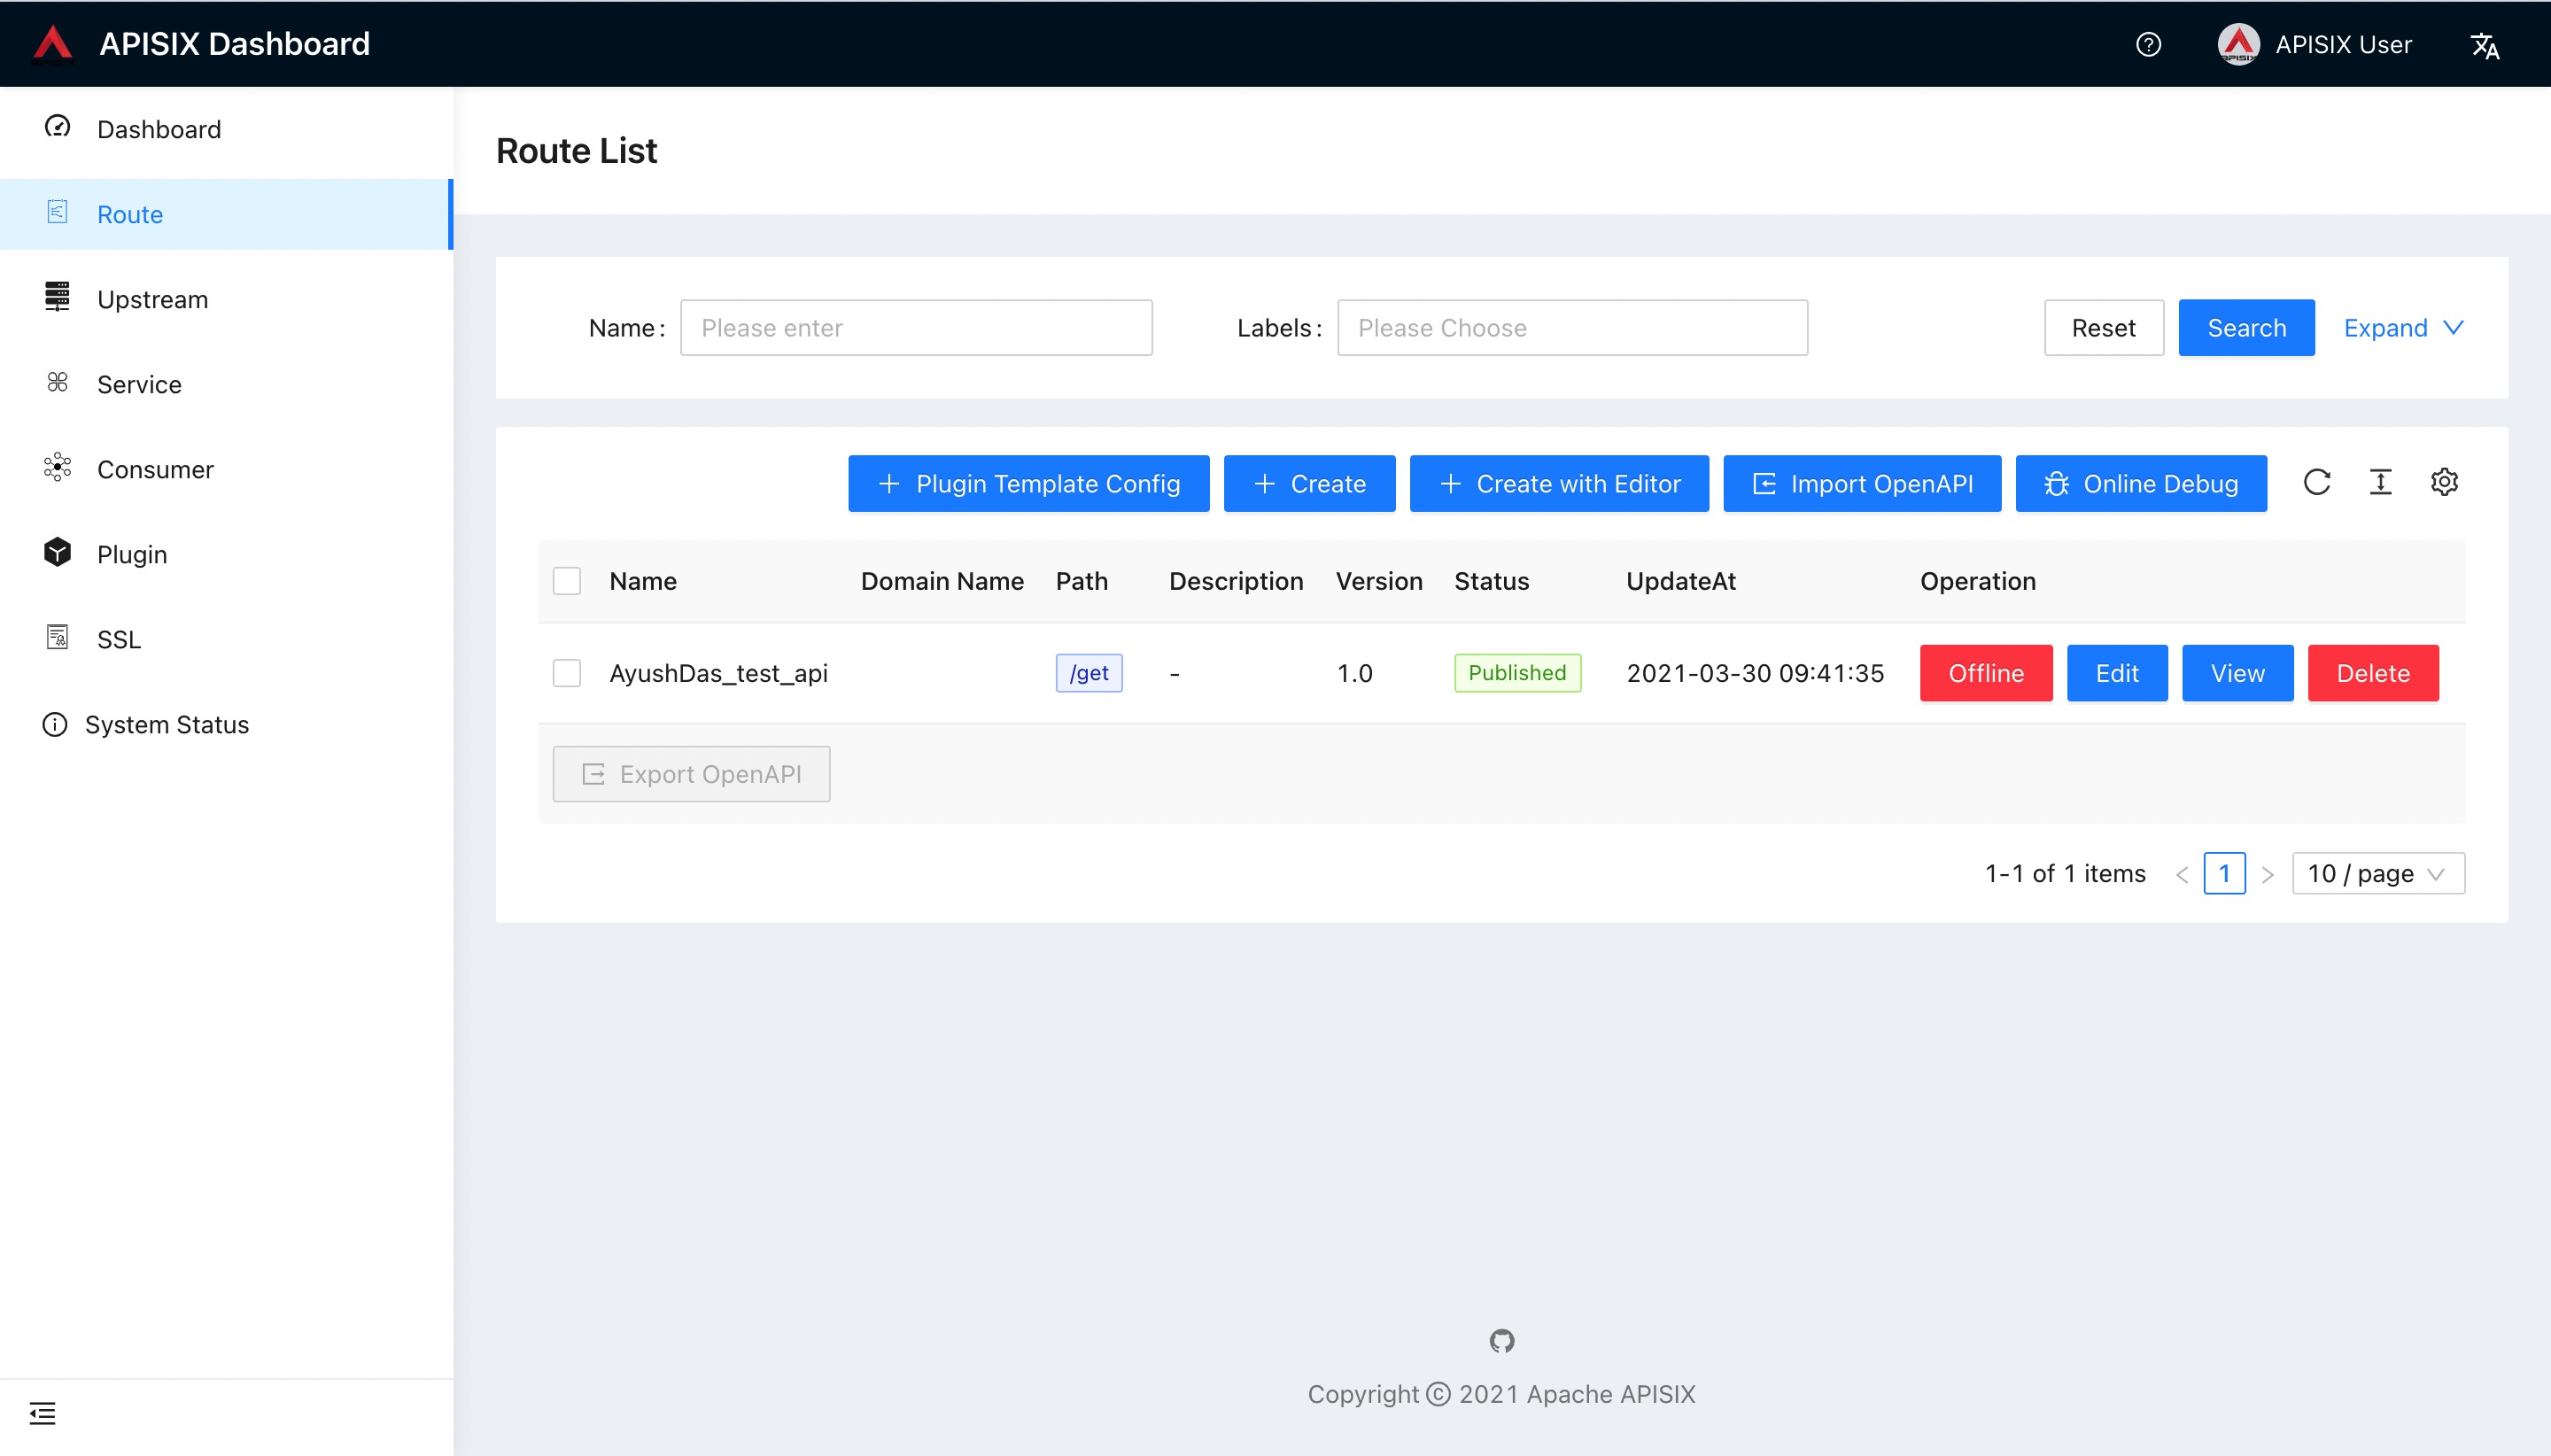
Apache APISIX provides a Dashboard to let us operate Apache APISIX more easier.
Troubleshooting#
- Make sure all required ports (9080/9443/2379 by default) are not being used by other systems/processes.
The following command will kill the process which is listening on a specific port (in unix based systems).
$ sudo fuser -k 9443/tcp- If the docker container is restarting/failing continuously, just access to the container and observe the logs to find out what happened.
$ docker logs -f --tail container_id